Add Layer Mask Photoshop
Select layer to which you want to paste layer mask and click Add layer mask at the bottom of Layers panel. Create a layer mask on the layer to be masked by selecting the layer and then pressing the Add Layer Mask Button at the bottom of the layers palette.

Using Apply Image On Layer Masks In Photoshop Photoshop Layer Mask Layer Mask Photoshop
With blank layer mask visible in image area paste the content which is copied Layer mask from the clipboard from Edit Paste.
. A smaller number here makes your Stroke more transparent while a higher number is more opaque. Adding black to a layer mask hides the layer that contains the mask. To reactivate the mask hold Shift and click on your mask once again.
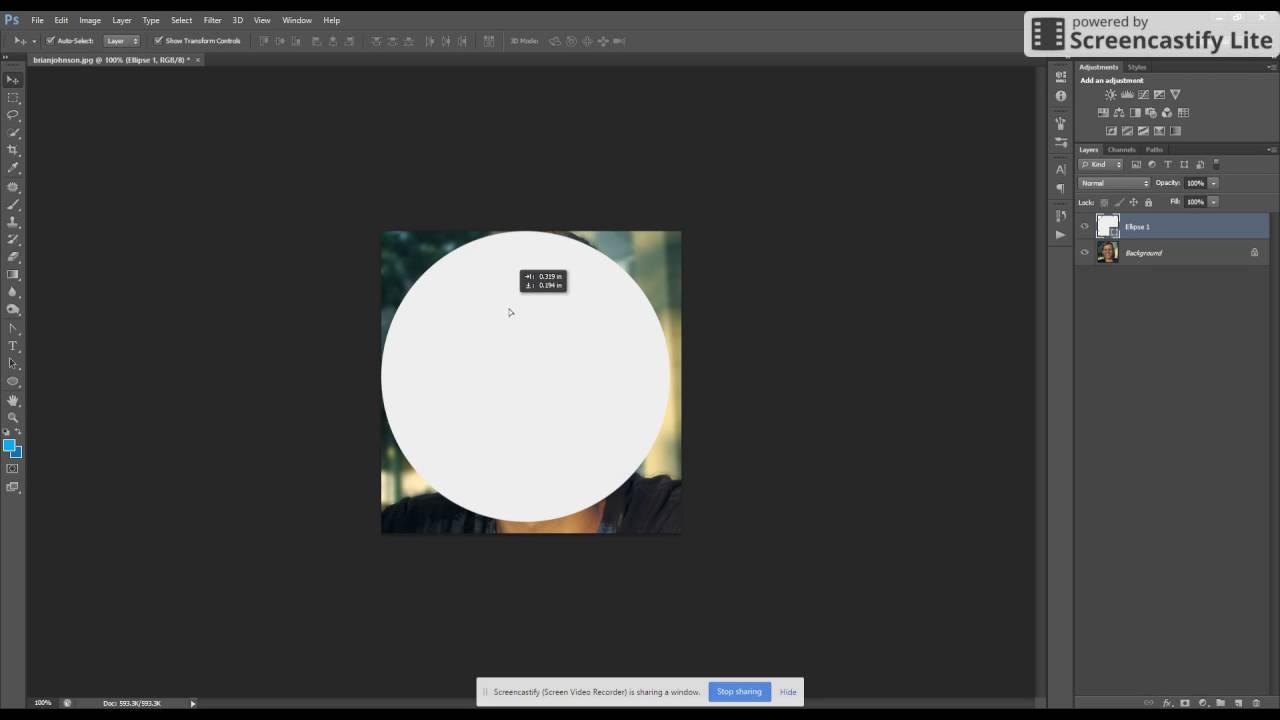
A vector mask creates a sharp-edged shape on a layer and is useful anytime you want to add a design element with clean and defined edges. I have no idea what they teach you at design school Ive never been. Press L for the Lasso tool.
Edit your layer mask to add or remove areas from the selection. The Opacity slider controls how transparent our stroke is. This means its not active.
In the following example you can see that setting the Opacity to 0 creates a mask where the. Select a layer in the Layers panel. Add a Glow Effect to the Object.
When your layer mask is disabled a large red X will appear over the mask. If you set your stroke to 0 opacity it will act as a mask and hide areas of the layer it is applied to. Press and hold the Shift key and use the Mouse to trace around the areas of the mans rollerblades that werent selected.
By holding Alt or Option PCMac and clicking on your layer mask youll see your layer mask displayed on your canvas. Here is the magic part. Use the plus and minus Eyedropper tools to add or subtract hues from your adjustment.
This way you can more easily. Click the Add layer mask button at the bottom of the Layers panel. Create a layer mask.
There are a few ways to tweak your adjustment to get it just right. Add black to a layer mask to conceal. Note that the settings we apply to the sword are image-specific meaning that if youre following along with us on your own image then youll need to experiment with the settings to find the.
Check the box next to Colorize to remove any tints from the previous color note that this may remove texture. To deselect areas that were selected follow the same process in Step 4 but use the Alt button. Depending on your version of Photoshop different areas may have been missed by Photoshops Subject Select tool.
A white layer mask thumbnail appears on the selected layer revealing everything on the selected layer. There we will adjust the properties of several of the layer styles. This is a little trick they wont teach you in design school.
In this step well access the Layer Style menu of the object sword layer. After you create a layer with a vector mask you can apply one or more layer styles to it edit them if needed and instantly have a usable button panel or other web-design element. Next step is to show newly created blank Layer mask in main image area by Alt clicking on it.
How To Use Vector Masks In Photoshop Photoshop Youtube Photoshop Mask
Using Shape As Layer Mask In Photoshop Bjd Tutorials Youtube Photoshop Tutorial Layer Mask

Photoshop Layer Masks Applying A Layer Mask Layer Mask Photoshop Photoshop Design Photoshop Photography

Masking In Photoshop How To Use Layer Masks Photoshop Layer Mask Photoshop Amazing Photoshop

Adding Layer Mask Photoshop Effects Photoshop Winter Images

Using Apply Image On Layer Masks In Photoshop Layer Mask Photoshop Photoshop Layer Mask
0 Response to "Add Layer Mask Photoshop"
Post a Comment